YOUR NEEDS, OUR TOOL.
GAUGES
Imagine tens, hundreds or thousands of gears mass-produced by industrial machinery: how can you verify that the quality of the gear corresponds to that required?
The control devices are used for this, to verify that there are no production errors in the construction variables of the gears.
Global Carbide Tools control devices work with almost absolute precision, signaling, for example, even changes in the outside temperature.
Among the main control devices that Global Carbide Tools can design and supply you will find:

Motorized gear gauge for checking total gearing error and helix angle variation β
- From the acronym LREI (Lead & Rotational Error Inspection gauge), it is a three-axis CNC machine, i.e. capable of simultaneously managing two rotary axes and one linear, as well as the center distance probe, through a software specially designed by GCT.
- This particular gear gauge detects rolling, helix angle and taper errors with extreme precision.

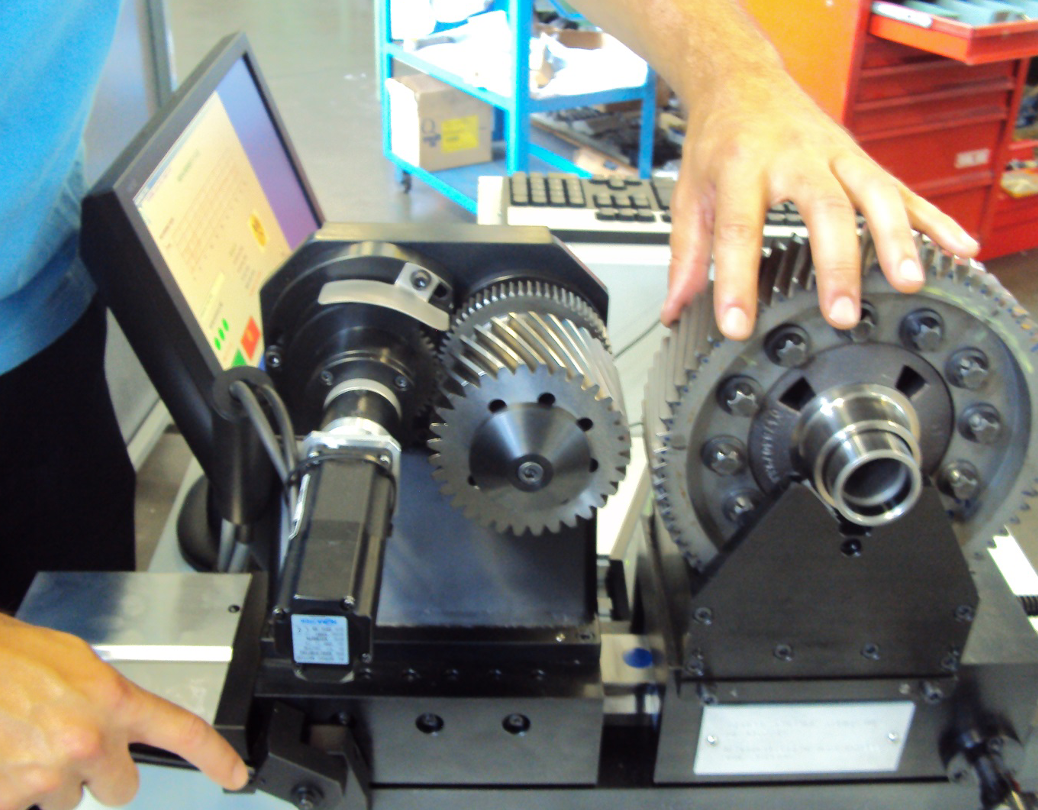
Motorized gear gauge
This particular test device not only measures whether the gear is able to roll completely, but detects the presence of dents, a typical error of industrial machinery that produces gears.
Global Carbide Tools produces two types of motorized gear gauges: the GC-RGG/1M and the one for shafted gears.
These specific machines measure and control the success of gear production in four variables (Fi, fi, Fr, PEAK).

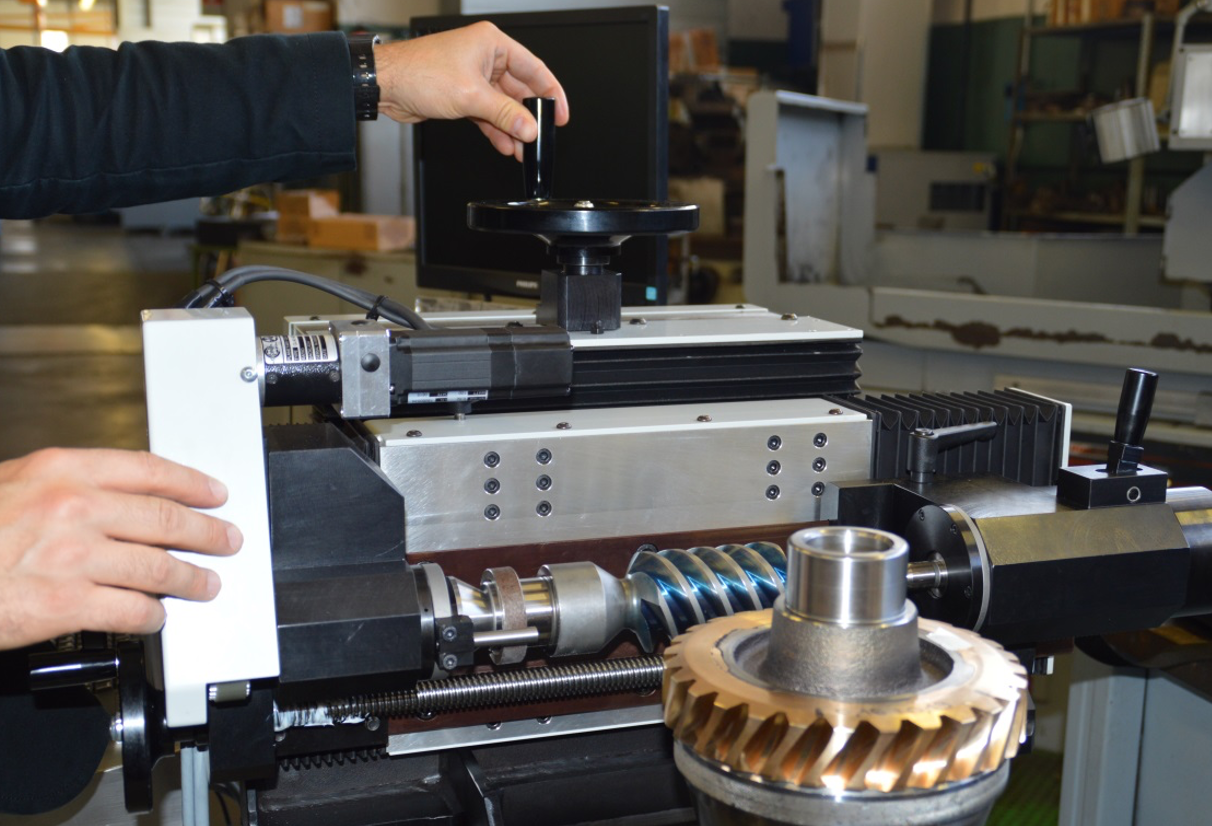
GC-AVC type motorized crown screw gear gauge
The crown and worm gear covers a vast range of applications: from electro-medical, through reduction mechanisms, or for the lifting and lowering of elevators.The specific GCT gearmeter is designed to perform the following functions:
- Locate the composite mesh error;
- Recognize and report the deviation of the height of the teeth from the center of the band;
- Predict a fixed interest cycle for the visual analysis of the Prussian blue print.
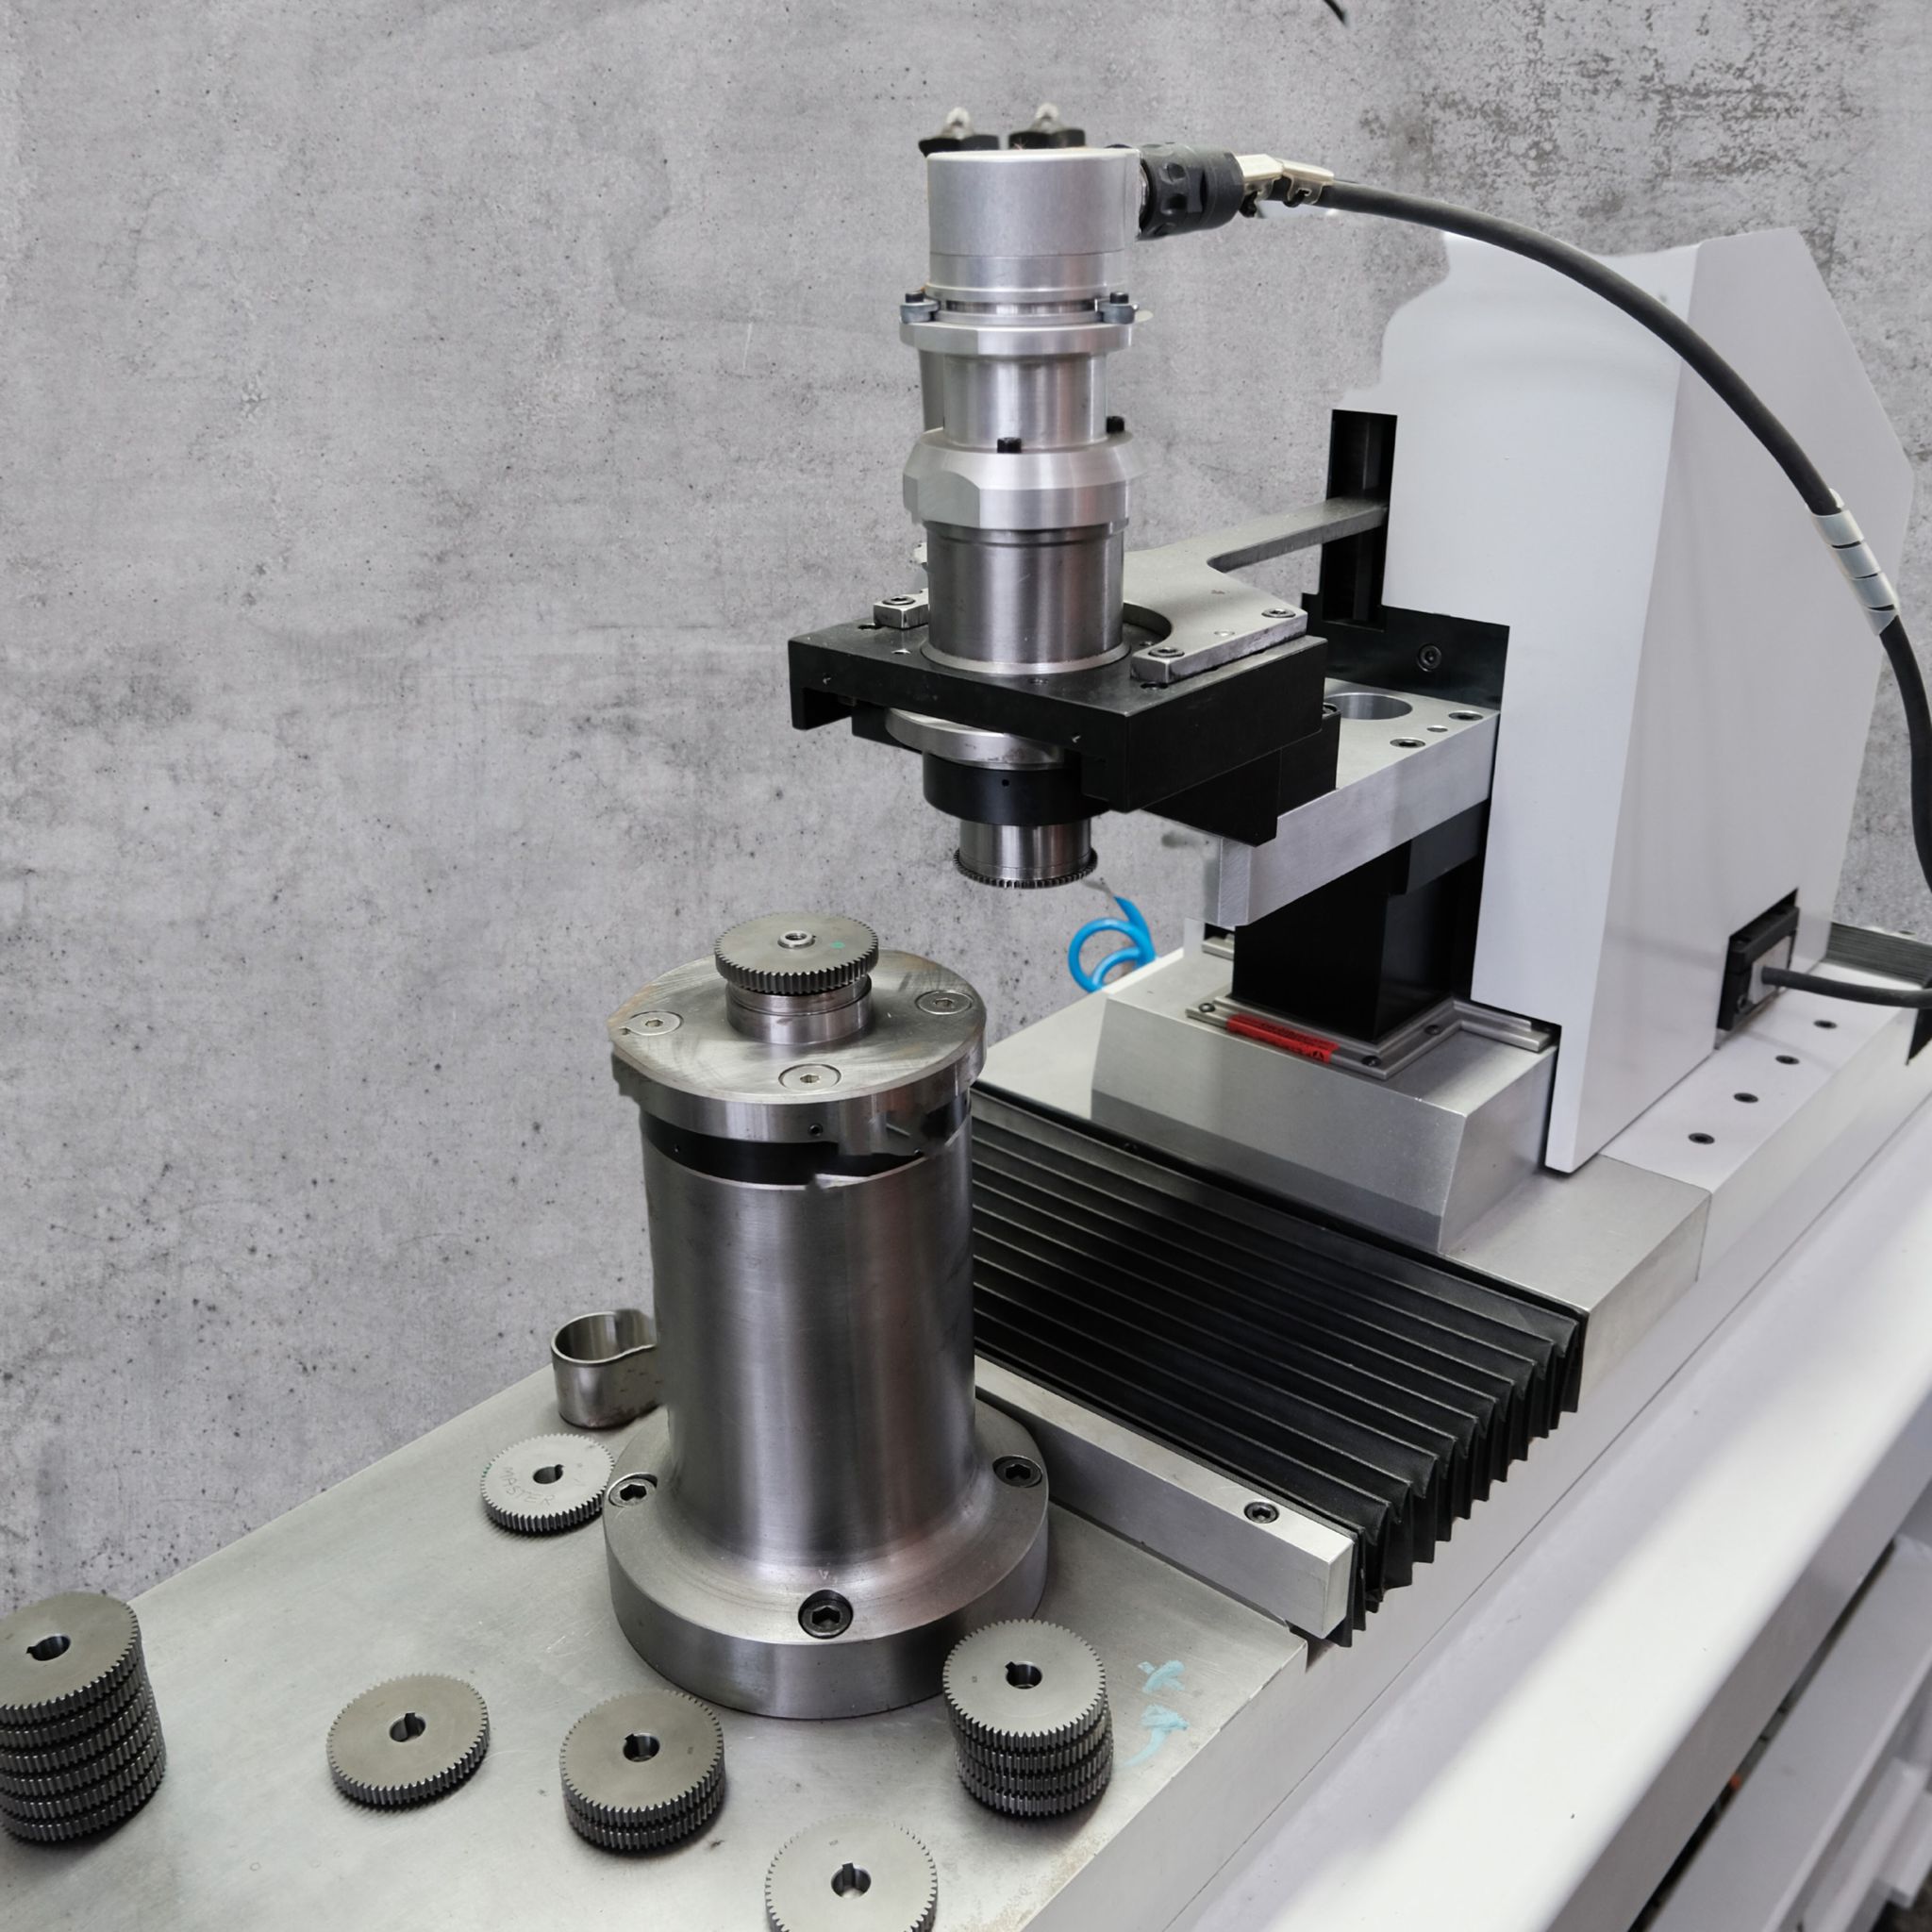
Measuring apparatus between the spheres - ball gauge
It is the ideal instrument for measuring balls type GC-MOBG.
Designed to operate manually or robot loaded or pick and place working alongside the machine, it represents the future: the special robotic arm does not produce graphics but interacts directly with the machine.
Manual model in photo and also available automatic model for loading with robot or pick and place.

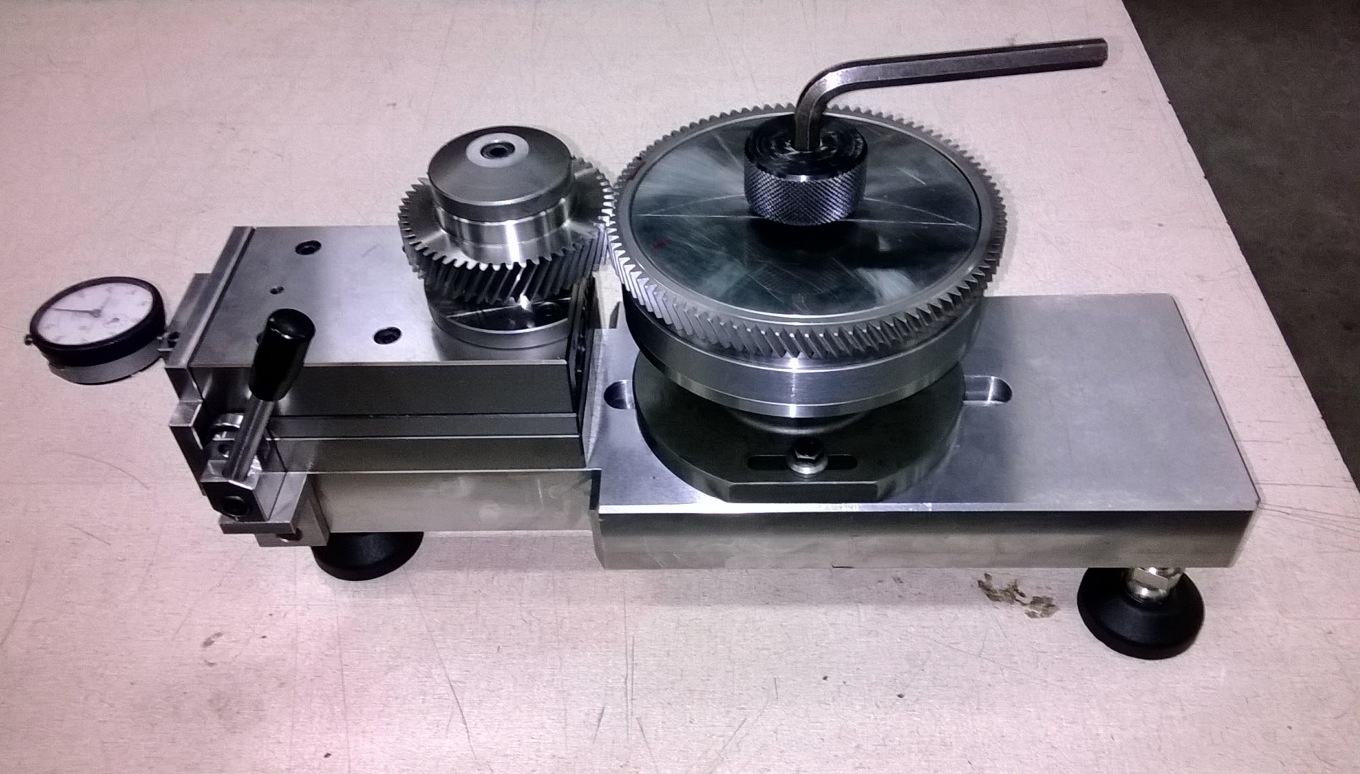
Manual roll gauge
Among all, this is the best known control device, thanks to its functionality and ease of use. In fact, the operator only has to mesh the gear with a master gear and move it to check the variations on a precision probe.

Apparatus for measuring distance variation on fellows knives
A device designed by Global Carbide Tools to measure the change in center distance on fellows knives after resharpening.
Its particular functioning helps to avoid most production waste: a tool that has just been re-sharpened is usually tested in the machine by creating some waste pieces for the correct setting of the machine.
This system generates and sets the precise value from the first use, avoiding waste.
